Pygame ‘Press Start’ Tour
Setting the stage for your Game Dev journey even if you never coded before

April 25th, 2025

🕹️ Welcome to the Pygame ‘Press Start’ Tour
The Pygame Press Start Tour teaches game development through hands-on projects.
You Don’t Need to Know Everything
Believe it or not, Absolute beginners are allowed to code. Even if you’ve never written a line of code in your life, that’s okay.
A project-based learning approach teaches you what you need as you go. If something matters, you’ll see it again until it clicks.
So don’t worry about knowing everything upfront. And if you ever feel curious about how code works behind the scenes, we’d love for you to check out our beginner-friendly series: Starter Town.
Building our Studio
Our Toolbox
For this Tour, our tools will be Python as our language, PyCharm to write the code, and Pygame to stitch our game together.

Installing Python
- Download the latest version of Python 3 here.
- On Windows, check the box "Add Python to PATH"
- Click ‘Install Now’
"PATH" is like an address book letting the PC know where Python lives.
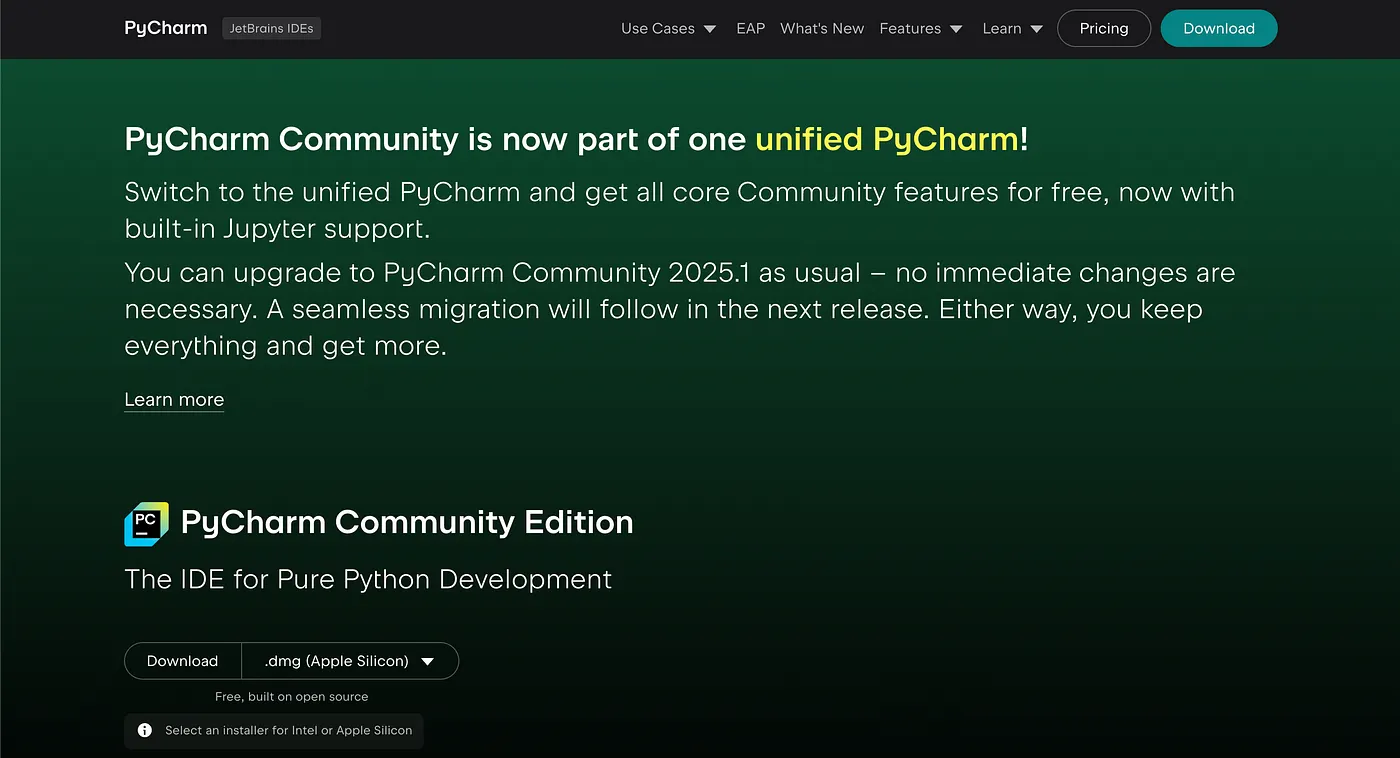
Setting up PyCharm
- Download Community Edition (It’s free)
- Launch PyCharm and select ‘New Project’.
- Ensure your Interpreter is 'Custom environment' and click ‘Create’
Installing PyGame
- Open the Terminal tab in PyCharm (bottom panel)
- Type
pip install pygameand hit enter

The spark of every project - main.py
- Right-click your project folder → New > Python File
- Name it:
main

Getting started with Pygame
We’ll prep our game in three phases: The Setup, The Game Loop, and The End.
The Setup (Initialization)
Gathering our tools
import pygame
import sys
Starting our engine
pygame.init()We interrupt this program with:
POOPs - Principles of Object-Oriented Programming
- Class is a blueprint
- Method is a function attached to an instance
- Instance is a live object from that blueprint

Setting up our window
WIDTH, HEIGHT = 600, 400
screen = pygame.display.set_mode((WIDTH, HEIGHT))
pygame.display.set_caption("Name your game here :D")
The Game Loop

The heartbeat of our game:
clock = pygame.time.Clock()
running = True

while running:
    clock.tick(60)

    for event in pygame.event.get():
        if event.type == pygame.QUIT:
            running = False

    screen.fill((135, 206, 250))
    pygame.display.flip()
The End
pygame.quit()
sys.exit()
And just like that we:
- ✅ Installed Python + PyCharm + Pygame
- ✅ Created a window with Pygame
- ✅ Wrote your first game loop
- ✅ Learned how your game starts, updates, and ends
Next Steps
Congratulations. You’ve literally opened a window to a whole new place. Right now, it’s just sky. But soon, it will be a world that you create.

Coming soon:
- Endless Runner
- Pet Simulator
- Turn-based RPG
If you want to learn more fundamentals, check out Starter Town.
Complete ‘Getting Started’ Script
# Grab the toolbox
import pygame
import sys
# Wake up Pygame
pygame.init()
# Setup window
WIDTH, HEIGHT = 600, 400
screen = pygame.display.set_mode((WIDTH, HEIGHT))
pygame.display.set_caption("Game Window Name")
# Setup Game Loop
clock = pygame.time.Clock()
running = True
# Game Loop
while running:
    clock.tick(60)
    for event in pygame.event.get():
        if event.type == pygame.QUIT:
            running = False
    screen.fill((135, 206, 250))
    pygame.display.flip()
# Pull the plug
pygame.quit()
sys.exit()
How did we get here 😵
If you’re wondering how we even knew what to write, it’s all in the Pygame docs.
There are no secrets. Only curiosity and the willingness to try.
The hardest part is to start — and today, you did just that.